
Last updated October 15, 2026
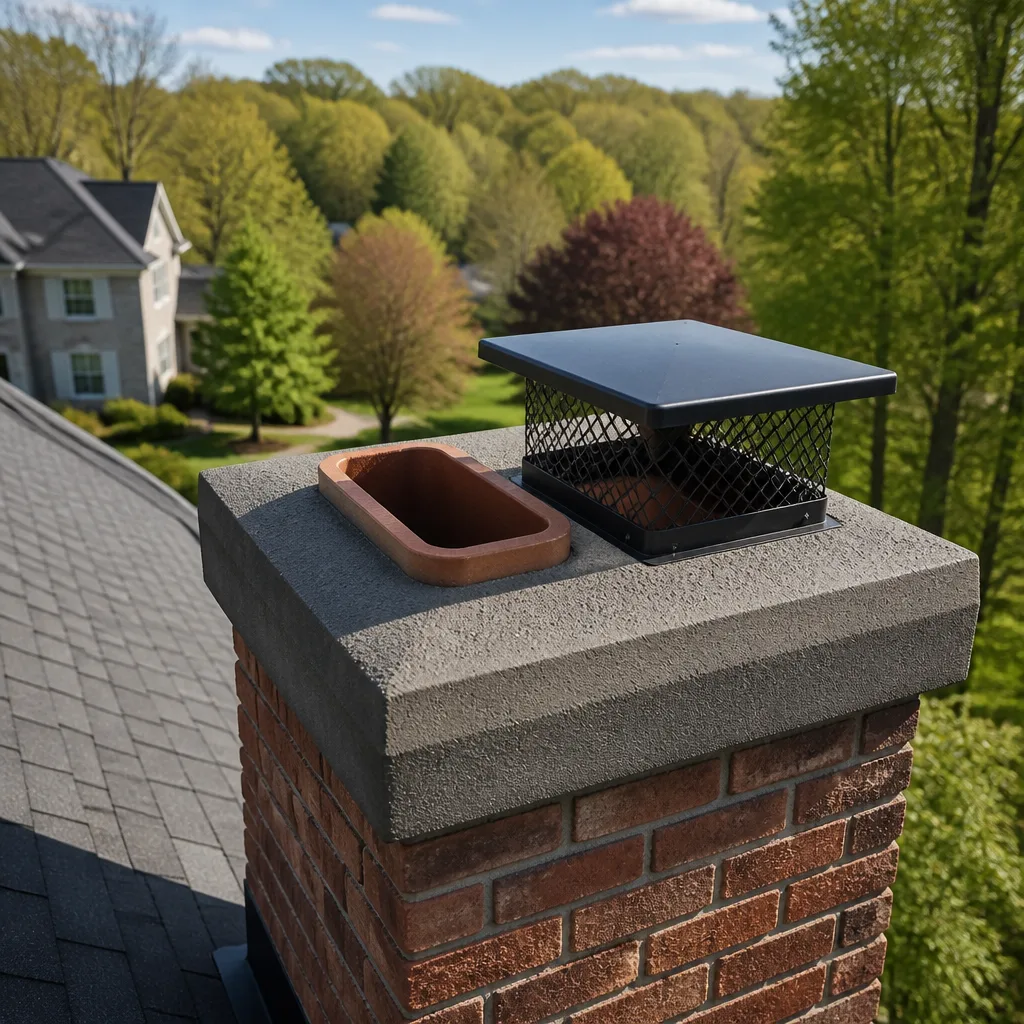 Sweep & inspection
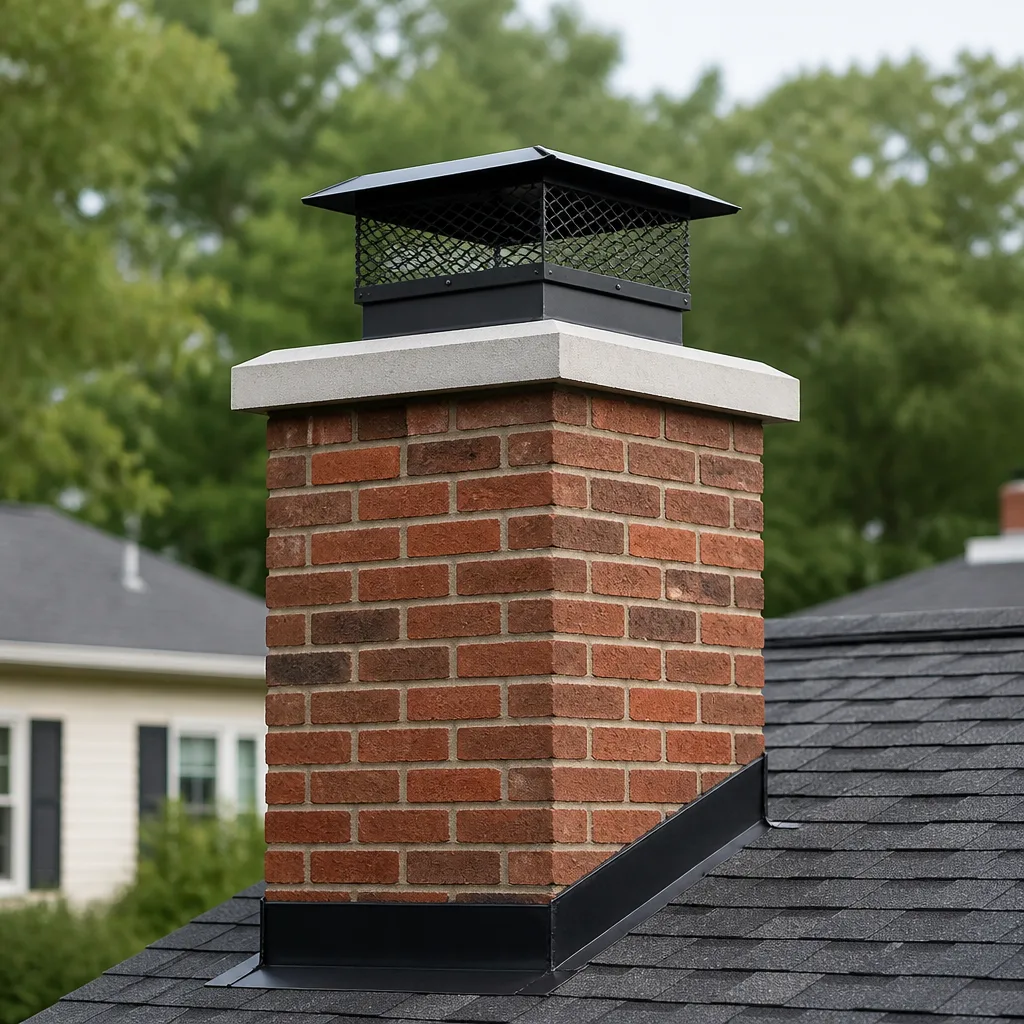 Caps & crowns
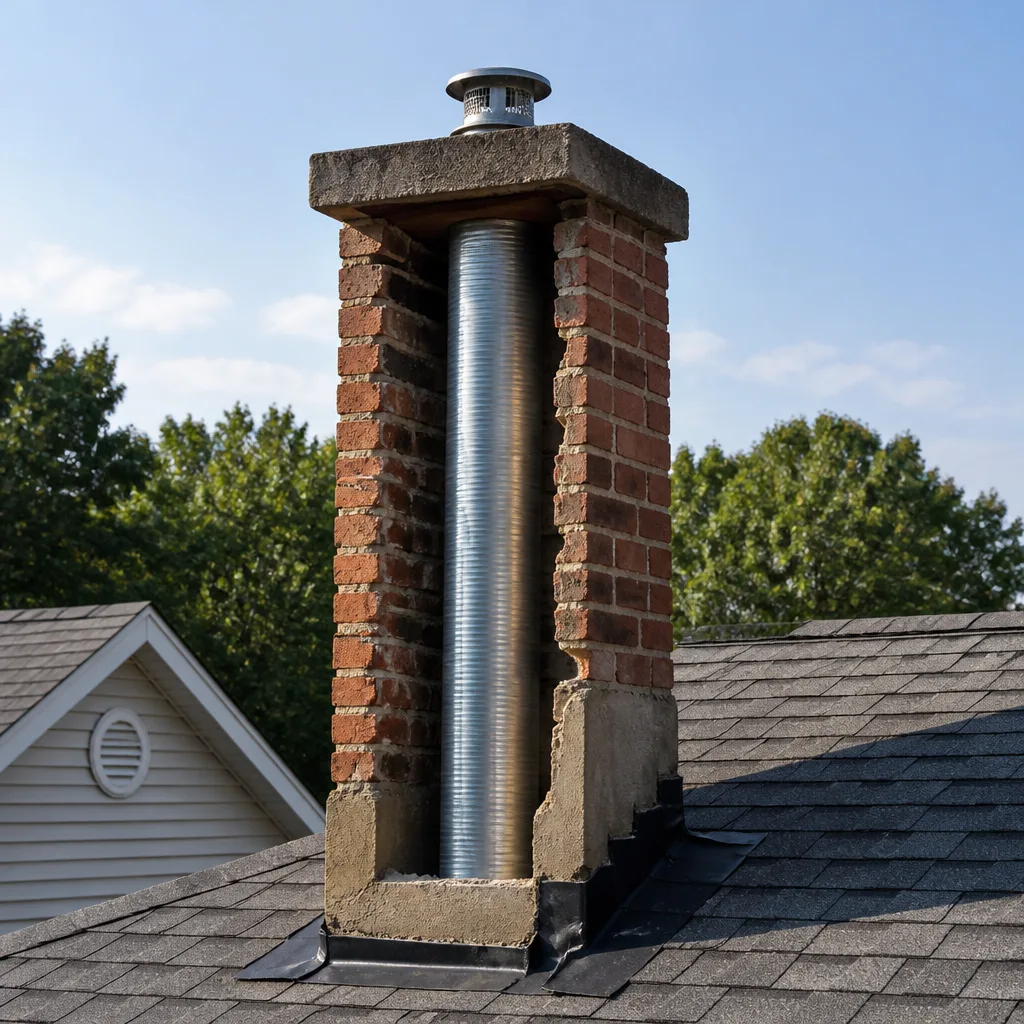 Flue relining
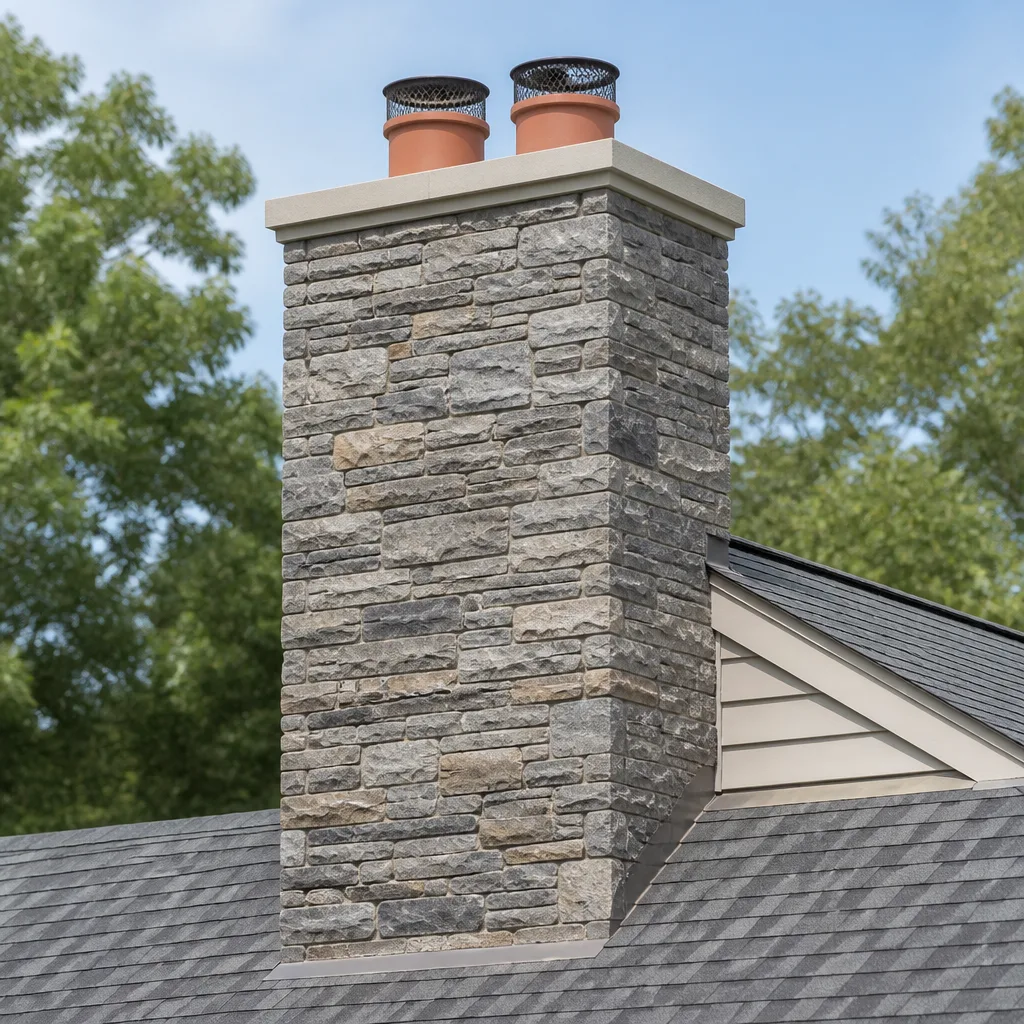 Masonry repair
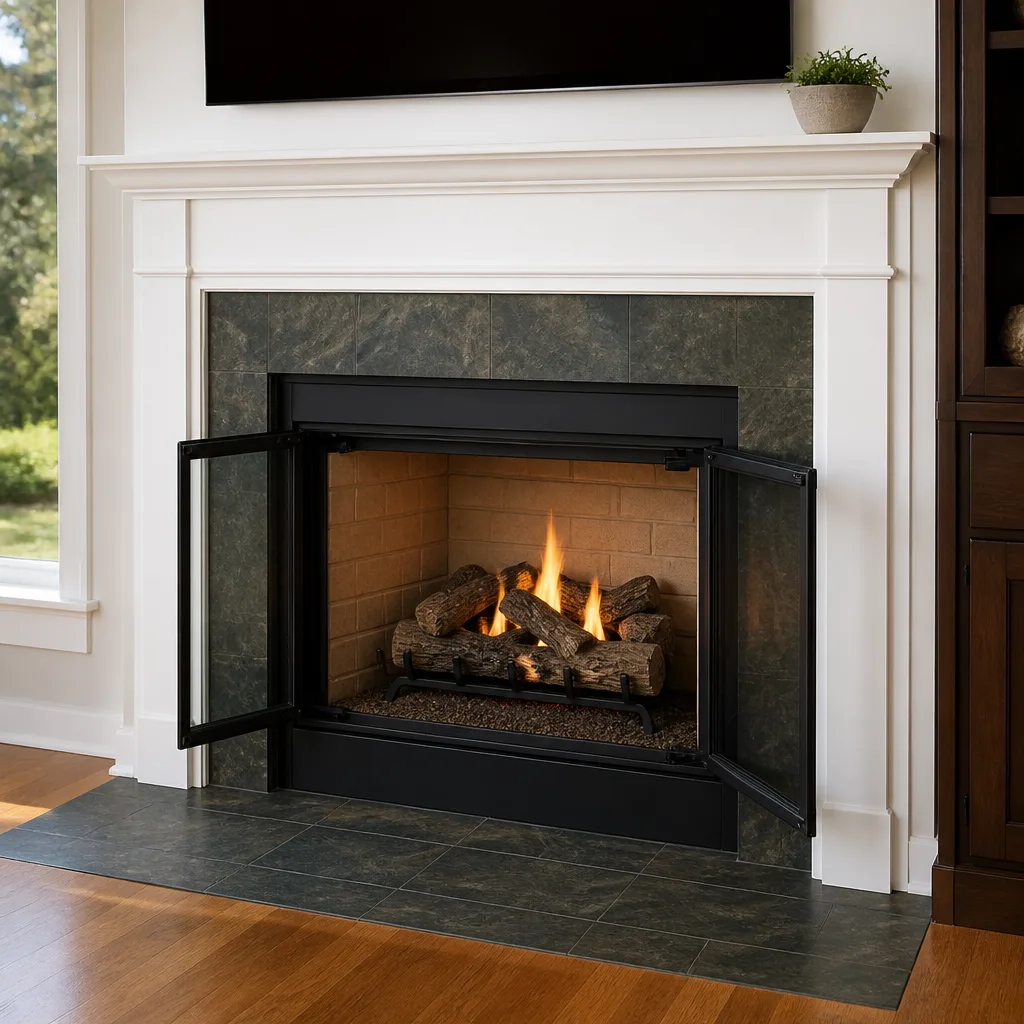 Gas fireplace service
Level 1 sweep and inspection to the NFPA 211 annual standard - flue, crown, cap, and flashing checked and photographed
Chimney sweep logs do not sweep chimneys. They loosen some creosote - which then falls where a brush and vacuum still have to collect it.
Chimney Sweep Maintenance Checklist for San Antonio Homeowners
The most dangerous moment for a San Antonio fireplace isn’t the first cold night you light it. It’s the fact that it sat sealed and uninspected for seven months while wasps, moisture, and oxidized metal quietly changed the equation. By the time December arrives, a chimney that worked fine in March can harbor a paper wasp nest the size of a dinner plate, a rusted damper that won’t fully open, or creosote that has absorbed enough humidity to become sticky and dense instead of flaking away cleanly. This guide gives you a month-by-month maintenance checklist built around San Antonio’s two distinct fireplace seasons: the long dormant stretch from April through October, and the short, intense burn window from November through March. You’ll learn exactly what to check yourself from the ground, when to call a certified sweep, how to document your chimney’s condition for insurance purposes, and what a correctly performed professional visit should include before you pay the bill.
Quick Answer
A San Antonio chimney maintenance checklist should be split into two seasonal phases: dormant-season visual checks (April through October) and pre-burn preparation (October and November). During the dormant months, homeowners should verify the chimney cap is intact, scan for animal entry or wasp activity, check for visible mortar cracks at ground level, and document any changes with photos. Before the first fire each fall, a professional chimney sweep should inspect the flue with a camera, remove creosote and debris, test the damper operation, and confirm the liner is intact. Most standard chimney sweeps in San Antonio run between $149 and $249, and an annual sweep plus visual diligence between visits is enough to keep most fireplaces safe for a full burn season.
Styles & brands we work with
Table of Contents
- Why a San Antonio Chimney Checklist Works in Two Seasons
- Dormant Season Tasks: April Through October
- Pre-Burn Season Tasks: October and November
- Month-by-Month Maintenance Calendar
- What You Can Check Yourself vs. What Needs a Certified Sweep
- Documenting Your Chimney Year Over Year
- What “Done Right” Looks Like After a Professional Visit
- San Antonio-Specific Threats to Watch For
Why a San Antonio Chimney Checklist Works in Two Seasons
Chimney maintenance guides written for New England or the Midwest assume a burn season that stretches from October through April, followed by a short summer. San Antonio doesn’t work that way. Our fireplace season is compressed: most families light their first fire around Thanksgiving, burn regularly through January and February, and stop by March or early April. That leaves a seven-month dormant stretch where the chimney sits unused through the hottest part of the Texas year. This isn’t a problem by itself, but it changes what maintenance tasks matter and when they matter. A crack that opens in a mortar joint in June has plenty of time to widen before the next burn season. A wasp nest built in July could be fully blocking the flue by October. The checklist below treats these two phases as distinct chapters because the tasks genuinely differ. Dormant season is about prevention and observation. Burn season is about verification and correction.
Dormant Season Tasks: April Through October
The dormant season is when most chimney problems in San Antonio actually begin. The fireplace isn’t being used, so small issues develop unseen unless someone is looking. The good news: you can handle most dormant-season maintenance from the ground with nothing more than your eyes, a camera, and five minutes of attention once a month. Here’s what belongs on your April-through-October checklist.
Check the Chimney Cap After Every Major Storm
San Antonio gets its heaviest rain and wind from March through June, and again during fall storm systems. Your chimney cap is the first line of defense against water intrusion, and it takes the brunt of this weather. After any storm with winds above 30 mph or hail, step outside and look at the cap. You’re checking for three things: visible denting from hail, shifting or tilting from wind, and rust formation around the seams. A dented cap can still function, but a cap that has shifted even a quarter inch leaves a gap for rain to enter. If you notice any change from the last time you looked, take a photo and note the date. You’ll want that documentation if you need an insurance claim.
Scan for Wasp and Bird Activity Every Month
Paper wasps are the most common chimney invader in San Antonio during the dormant season, and they’re a problem precisely because the chimney is idle. A sealed damper keeps wasps from entering the home, but it doesn’t stop them from building a nest in the smoke shelf or flue above it. Check for wasp traffic by watching the chimney opening for five minutes on a warm afternoon. Wasps flying in and out, or a visible cluster of paper comb under the cap, means you have a nest inside. Do not try to remove it yourself. Wasp stings inside a chimney are dangerous because you’re working in a confined space with limited escape room, and store-bought sprays leave residue that will burn and create fumes the first time you light a fire. A professional sweep removes nests as part of a standard sweep, and we do it with the proper equipment to avoid putting you or the wasps in a conflict.
Inspect the Mortar Joints You Can See
Stand at ground level and scan the exterior brick or stone of the chimney. You’re looking for hairline cracks in the mortar joints, brick faces that appear pushed outward, or white chalky deposits called efflorescence. Efflorescence means water is moving through the masonry and depositing minerals as it evaporates. It’s an early warning sign, not immediate structural failure, but it’s worth noting in your log. San Antonio’s summer heat causes the brick and mortar to expand, and the nighttime cooling lets it contract. Over years, this thermal cycling opens micro-cracks that let in moisture during storms. If you spot a crack wider than a credit card can slide into, that’s a call to a professional for an evaluation, not a DIY patch job. Mortar and brick repair requires material that matches the existing chimney’s composition, or the repair itself becomes a point of failure.
Check the Damper Operation Once Mid-Summer
Dampers rust and seize when they sit closed through humid months. San Antonio’s average summer humidity stays above 60 percent, which is exactly the range where metal parts begin to oxidize, especially if the damper plate is old cast iron. In July, open and close the damper completely two or three times. It should move smoothly with consistent resistance. If it grinds, catches, or refuses to move fully open, note it. A damper that won’t open fully means smoke and carbon monoxide can’t properly vent when you light that first fall fire. This is a repair call, not a burn-season discovery you want to make on a cold evening.
Run a Moisture Check After Heavy Rain
After any rainfall of more than two inches, shine a flashlight up into the firebox and look for water staining, dripping, or a damp smell. You’re checking for two distinct problems. Water that beads on the damper or runs down the firebox walls means the cap or crown is failing and letting rain directly in. A general damp odor or dark stains on the firebrick without visible drips usually means masonry is absorbing water through cracked mortar or a failed waterproofing treatment. Both are fixable, but the fix is different, and you don’t want to wait until the burn season to address them. Water that has been seeping into the masonry all summer will freeze during a rare San Antonio hard freeze and expand, turning hairline cracks into structural gaps.
Pre-Burn Season Tasks: October and November
The pre-burn phase is where the checklist shifts from observation to action. This is the only phase where a certified sweep should be involved every year, regardless of how diligent you’ve been during the dormant months. The pre-burn sweep exists because the chimney has been dormant for seven months and the first fire needs to happen safely. For full details, see our Complete Guide to Chimney Cleaning in San Antonio. Here’s what that phase includes.
Schedule a Professional Chimney Sweep Every October
We recommend scheduling your annual sweep in early to mid-October, before the first cold front pushes demand through the roof. In San Antonio, the first fall cold snap triggers a rush of calls, and wait times stretch from days to weeks. If you schedule in October, you’ll get your sweep done before the first fire, not after it. A standard sweep in San Antonio runs between $149 and $249 for most single-flue brick chimneys, depending on height, accessibility, and the amount of creosote buildup. That price should include the sweep itself, a visual inspection of the accessible flue and firebox, and a written report of what was found. Ask if camera inspection is included or available as an add-on. We recommend it at least every other year, and every year if you burn more than a cord of wood per season.
Perform a Smoke Test Before the First Fire
The smoke test is a simple pre-burn check you can do yourself after the sweep, or have the sweep perform during the visit. Light a few sheets of newspaper in the firebox and close the damper. You’re checking that smoke doesn’t roll back into the room. If it does, that means air isn’t moving up the flue properly, and the cause could be a blockage, a cold flue, or a negative-pressure issue in the home. A properly functioning chimney should draw smoke upward within fifteen seconds of the newspaper catching. If you see backflow, don’t light a wood fire until a sweep has looked at it. This test takes two minutes and tells you more than any visual inspection can.
Confirm the Carbon Monoxide Detector is Functioning
Every home with a fireplace should have a functioning carbon monoxide detector within fifteen feet of the firebox. In San Antonio, many homes run their HVAC systems heavily through the shoulder seasons, which can create backdraft conditions in certain weather. A cold chimney, an oversized kitchen exhaust fan, or a home sealed tightly against the heat can all cause air to move the wrong direction through the flue. You won’t see it or feel it. A functioning CO detector is the difference between discovering the problem immediately and not discovering it at all. Test it with the test button in October, replace the battery if it’s more than six months old, and replace the detector itself if it’s more than seven years old.
Check the Firebox for Cracked Firebrick
Before the first fire, look at the firebrick lining the firebox. Firebrick should be intact, with joints between bricks visible but stable. Cracks in individual bricks are acceptable if they’re hairline and the brick remains firmly seated. A brick that has shifted, a gap between bricks wider than the tip of a flathead screwdriver, or a firebrick that has crumbled at the edge means repair is needed before you burn. Gaps let heat reach the framing behind the firebox, and that’s how a fire that looks contained becomes a structural fire. This is a repair call, and it’s not optional. Firebrick replacement is a normal part of fireplace repair, and if the fireplace was built before 1990, it’s common for at least some firebrick to need attention after decades of thermal cycling.
Month-by-Month Maintenance Calendar
Here is the full maintenance calendar in one reference table. Print it or save it to your phone. Five minutes a month is all the dormant season asks of you, and the pre-burn sweep is the single professional visit each year.
| Month | Task | Who Does It |
|---|---|---|
| January | After each fire, check for creosote buildup (shiny black flakes) in the firebox; note burn frequency | Homeowner |
| February | Mid-season visual check: damper function, creosote thickness, any smoke backflow during use | Homeowner |
| March | Final burn-season check; decide if end-of-season sweep is needed based on creosote buildup | Homeowner |
| April | Close damper; inspect cap after spring storms; scan for wasp activity beginning | Homeowner |
| May | Wasp and bird check; note any new efflorescence or staining on brick exterior | Homeowner |
| June | Post-storm cap inspection; check mortar joints for widening cracks | Homeowner |
| July | Full damper open/close exercise; note rust, grinding, or stiffness | Homeowner |
| August | Wasp activity check; verify no animal nesting in cap or flue | Homeowner |
| September | Moisture check after heavy rain; review your photo log for year-over-year changes | Homeowner |
| October | Call to schedule professional sweep; perform smoke test; battery check on CO detector | Homeowner + Sweep |
| November | First fire; monitor draw and smoke clearance for first five fires | Homeowner |
| December | Monthly creosote check; note any unusual odors; verify cap screen intact | Homeowner |
What You Can Check Yourself vs. What Needs a Certified Sweep
There is a clear line between homeowner maintenance and professional inspection, and crossing it in the wrong direction is how chimneys get damaged and people get hurt. For help deciding which path fits your situation, read our DIY vs Professional Chimney Cleaning guide. The rule of thumb: if it can be observed from the ground or reached by hand in the firebox, it’s yours. If it requires ladder work, reaching into the flue, or interpreting what you’re seeing inside the chimney structure, it belongs to a certified sweep. Climbing onto a roof with a chimney is the most dangerous part of this entire field, and it’s where the majority of chimney-related injuries happen. San Antonio’s clay tile roofs and steep ranch-style pitches make roof access even more hazardous than in other regions.
Safe for Homeowners
- Ground-level observations of chimney cap condition after storms
- Looking up into the firebox with a flashlight for water or debris
- Opening and closing the damper to test for stiffness or rust
- Checking for wasp traffic from ground level
- Scanning exterior brick for large visible cracks or efflorescence
- Replacing CO detector batteries
- Running the newspaper smoke test from the firebox
- Photographing visible condition for your year-over-year log
Requires a Certified Sweep
- Climbing onto the roof to inspect the cap, crown, or top of the flue
- Reaching into the flue or smoke shelf to remove debris or nests
- Camera inspection of the interior flue lining
- Creosote removal of any thickness beyond a light dusting
- Any repair involving the chimney structure, liner, or firebox masonry
- Evaluation of a damper that grinds, sticks, or won’t open fully
- Any work involving the flashing where the chimney meets the roofline
We’ve seen too many homeowners in San Antonio try to clear a wasp nest or replace a cap themselves, and the result is usually a hole in the roof decking or a trip to urgent care. The tools and training exist for a reason. The annual professional sweep isn’t a luxury, and it’s not a way to pad a bill. It’s the one time each year the entire chimney gets a trained set of eyes on it, from cap to firebox, with the right equipment to see what a flashlight from below can’t.
Documenting Your Chimney Year Over Year
Most homeowners never photograph their chimney until something goes wrong, and by then they have no baseline to compare against. A simple photo log changes that. Insurance claims for chimney damage, especially storm damage to caps or water intrusion from failed flashing, are far easier to resolve when you have photos showing the chimney’s condition before the damage occurred. A documented maintenance history also protects you if a buyer questions the chimney’s condition when you sell the home. Here’s how to keep the log without turning it into a chore.
Step-by-Step Photo Log
- Choose a consistent camera angle. Stand in the same spot every time, ideally 15 to 20 feet from the chimney, with the full structure in frame. Most phone cameras will capture enough detail at this distance.
- Photograph the same five details each time. The cap from the ground, the exterior brick face, the firebox interior with a flash, the damper in both open and closed positions, and any visible mortar joints on the exterior.
- Date every photo. Your phone does this automatically, but naming the album by month and year makes retrieval easier.
- Note what changed. If you spot a new crack or stain, photograph it immediately and add a one-sentence note in your phone. Three months later, you’ll know if it’s growing.
- Compare photos every September. This is the moment when the dormant season is ending and the burn season is approaching. You’ve had six months of exposure to heat, humidity, and storms. Comparing September to March tells you what the dormant season did to your chimney.
- Add the professional sweep report to your log. Every year, store the sweep report, including photos from any camera inspection, in the same folder. A buyer, an insurer, or a future contractor will thank you for the paper trail.
What “Done Right” Looks Like After a Professional Visit
A professional chimney sweep in San Antonio is a service you’re paying for, not a favor you’re hoping to receive. Before you hand over the check, there are four things you should verify happened. These aren’t extra requests or premium add-ons. They’re the baseline of what a competently performed sweep and inspection includes.
- The work area is protected before the sweeping begins. Drop cloths or tarps should cover the floor around the firebox, and a runner should extend from the entry door to the fireplace. Shoe covers go on at the door. If any of this is missing, the crew is not following a care standard, and your floors and air quality are at risk. We call this the Cedarwell Care Promise, and it’s written into every visit we perform in San Antonio: shoe covers and drop cloths on arrival, nothing moved without permission, and a photo of the clean-up taken before we walk out the door.
- Creosote is actually removed, not just loosened. You’ll see evidence in the form of a clean firebox and a visible change in the flue surface when looked at with a flashlight. A proper sweep removes the creosote that accumulated during the burn season. If the crew swept and you can scrape off a fingernail’s worth of black flakes from the firebox walls afterward, the job wasn’t finished.
- A camera inspection is offered and recommended, not hidden as a secret upsell. In San Antonio, we recommend camera inspection every year for chimneys that burn more than a cord of wood, and every other year for lighter use. The camera shows the flue liner’s condition in a way no visual check from below can. If a company sweeps and tells you the liner is fine without showing you a camera image, ask how they know.
- You receive a written report, not a verbal summary. A written report should note creosote thickness, any cracks or gaps in the flue liner, damper function, cap condition, and whether the smoke shelf was clear. This is the document you add to your photo log each year. It’s proof of maintenance, and it’s the starting point for next year’s comparison.
In our experience, the difference between a $99 sweep and a $199 sweep in San Antonio is often not the amount of creosote removed. It’s whether the technician actually looked at the chimney with a camera, wrote down what they found, and protected your home while they worked. A cheap sweep that doesn’t look is not a bargain. It’s a missed diagnosis.
San Antonio-Specific Threats to Watch For
Every region has chimney challenges unique to its climate and geography. San Antonio’s are predictable, and understanding them makes the checklist more effective. Here are the four threats we see most often in this market, and what each one means for your maintenance routine.
Paper Wasps Inside the Flue
San Antonio’s mild winters and long warm season make it wasp country year-round, but the dormant chimney season is when paper wasps are most likely to take up residence. A chimney cap with intact screening prevents entry, but a cap that has lost its screen or shifted out of alignment leaves an open invitation. Paper wasps don’t usually build deep inside the flue if the damper is closed and the fireplace isn’t used. They prefer the space just under the cap, where it’s warm and protected from rain. The fix is simple: verify the cap screen is intact during the monthly dormant-season check. If wasps are already present, the nest removal is a professional sweep’s job. Wasp removal from inside a flue is hazardous because the confined space amplifies the risk of multiple stings, and the nest itself can drop embers when you burn if it’s not fully removed.
Moisture Intrusion from Summer and Fall Storms
San Antonio’s annual rainfall averages around 32 inches, but it arrives in intense bursts rather than steady drizzle. A slow, soaking rain is survivable for a chimney with minor mortar cracks. A two-hour thunderstorm that drops three inches of rain is not. Water gets driven into cap seams, flashing gaps, and mortar cracks with enough pressure to penetrate deep into the masonry. The damage doesn’t show up immediately. It appears in October, when you light the first fire and notice water stains on the firebrick or a musty smell that wasn’t there in spring. This is why the post-storm cap check and the moisture check after heavy rain are non-negotiable parts of the dormant-season routine.
UV Damage to Chimney Caps
San Antonio gets more than 220 days of sunshine per year, and the UV exposure is brutal on anything left exposed on a roof. Chimney caps made from galvanized steel will eventually show rust, especially at the seams where the metal was bent during manufacturing. Stainless steel caps made by brands like Olympia Chimney or Copperfield hold up significantly better, but even stainless will show wear at the welds after a decade of Texas sun. You’re looking for rust streaks below the cap, visible oxidation around the base, or a cap that appears lighter in color than it did when installed. A UV-damaged cap can still function, but it’s worth photographing and noting. At some point, the integrity of the seam gives way, and the cap becomes a water entry point instead of a barrier.
High Humidity and Creosote Texture
Creosote in a dry climate flakes off when swept. Creosote in a humid climate absorbs moisture from the air and becomes sticky, tarry, and far more stubborn to remove. San Antonio’s summer humidity, which routinely sits above 60 percent, changes the texture of creosote inside a dormant chimney. This means two things. First, even a light creosote layer can become the consistency of thick grease by October, which makes the annual sweep more important, not less. Second, sticky creosote that isn’t removed before the burn season becomes a serious air-quality issue once fires begin. As the flue heats up, that creosote softens further and can off-gas into the home if the draw is imperfect. The fix is the same as with every other dormant-season threat: get the sweep done in October, before the creosote has a chance to matter again.
Common Mistakes to Avoid
- Skipping the annual sweep because “we didn’t burn that much.” Creosote buildup isn’t the only reason to sweep. The annual visit is when you find the wasp nest, the cracked firebrick, the damper that seized in June, and the cap that shifted in a spring storm. The sweep is the catch-all inspection, not a luxury reserved for heavy burners.
- Waiting until the first cold snap to schedule. Every chimney company in San Antonio books solid the first week the temperature drops below 45 degrees. If you wait, you’ll either burn with an unswept chimney or wait weeks for an appointment. October is the right month to call.
- Removing a wasp nest with store-bought spray. The spray doesn’t remove the nest, and the residue burns when you light the first fire, sending fumes through the house. A professional sweep takes the nest out completely and cleanly.
- Ignoring a damper that gets stiff. A damper that grinds or sticks in July is the same damper that will freeze shut in December, or worse, fail to open fully and send carbon monoxide into the room. Fix it in the summer.
- Assuming the cap is fine because it’s still sitting up there. A cap can shift out of alignment without falling off, leaving a gap that lets in water and wasps while still looking fine from the ground. Check it monthly, not once a year.
- Burning a fire without a functioning CO detector. This one needs no explanation. Install it, test it, replace the battery. The detector is the only part of the chimney system that watches you instead of the other way around.
- Relying on memory instead of photos. You will not remember the difference between a crack from March and a crack from September. Take the photo, date it, and add the one-sentence note. It takes thirty seconds and saves you from guessing during an insurance claim.
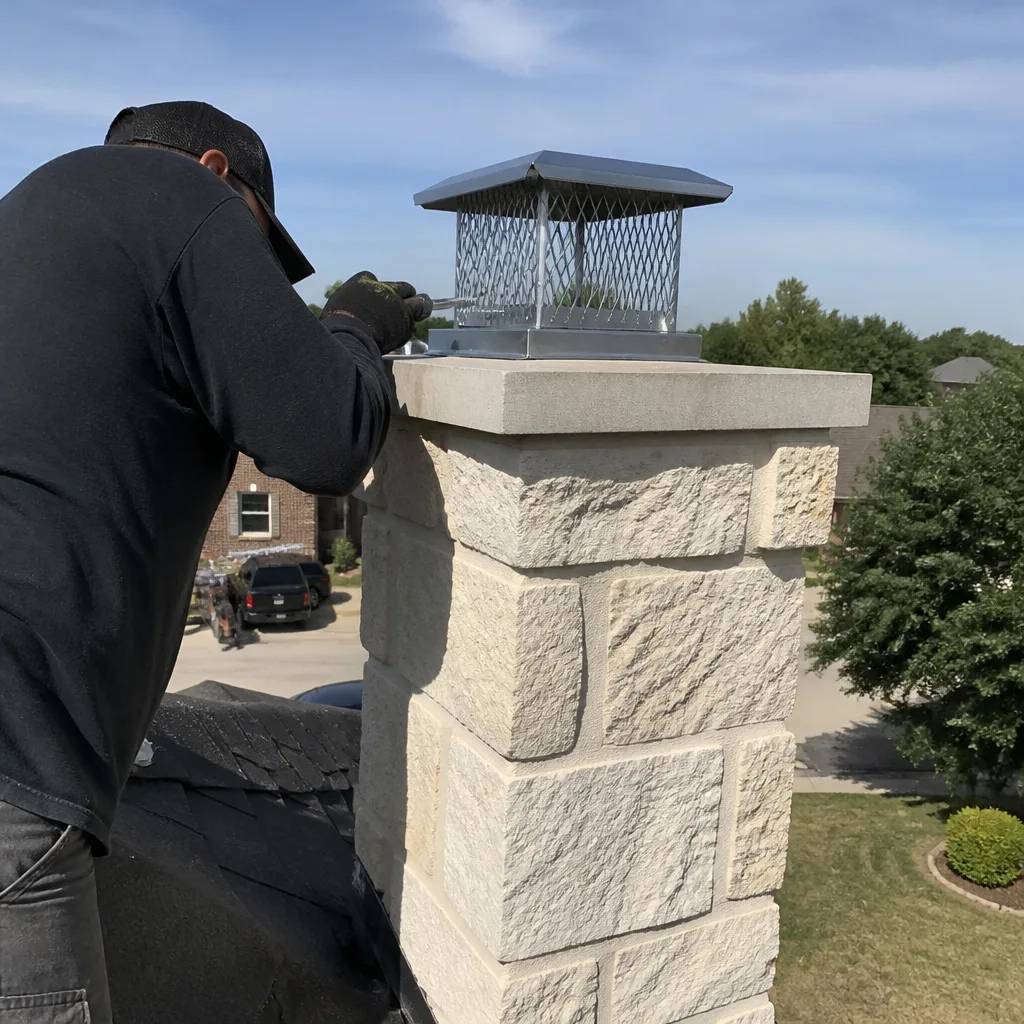
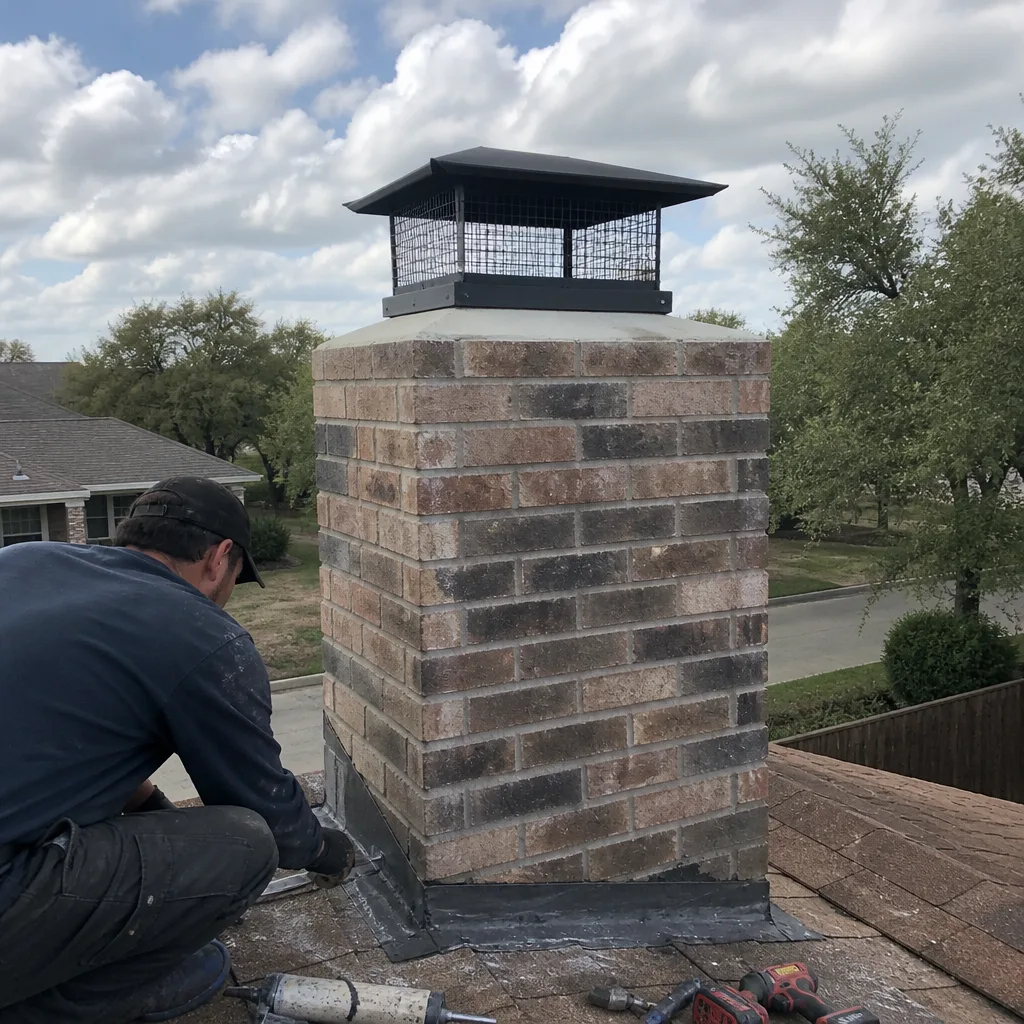
See the difference
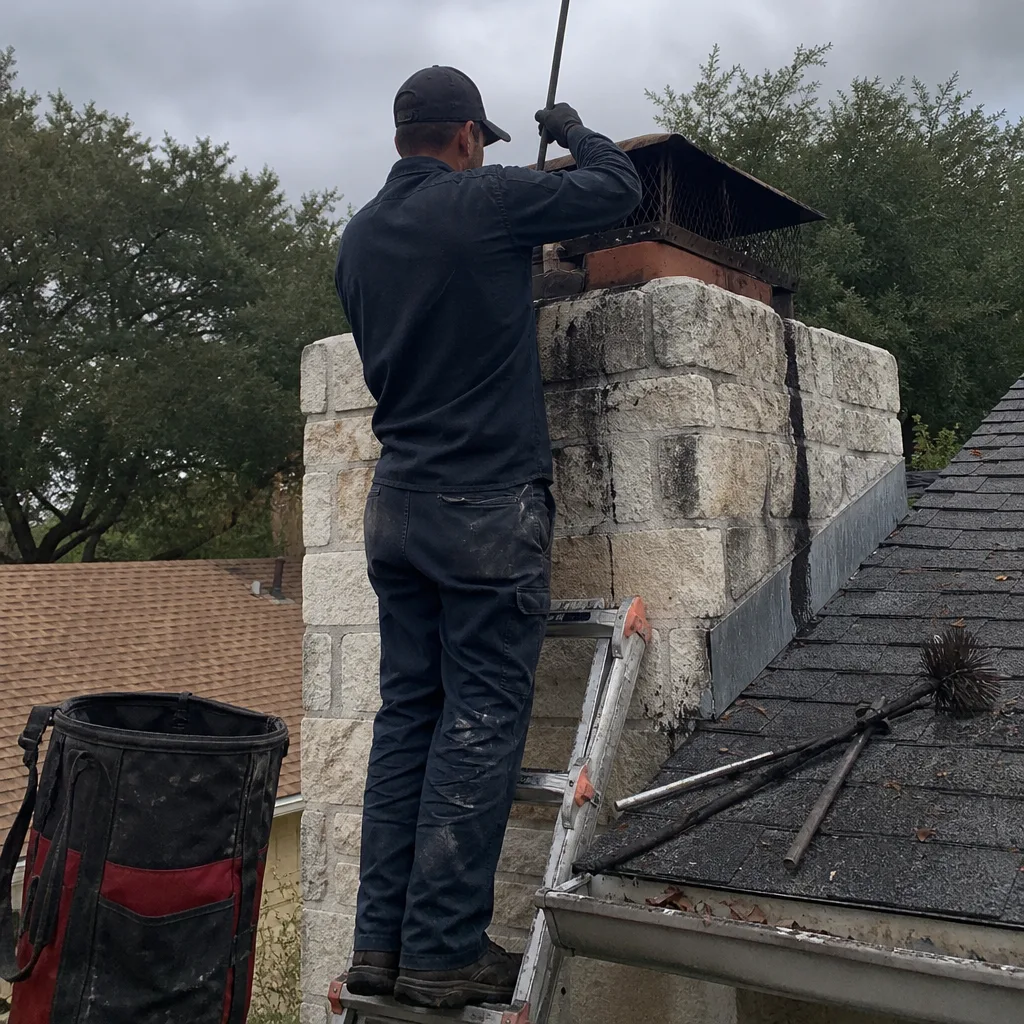 Before
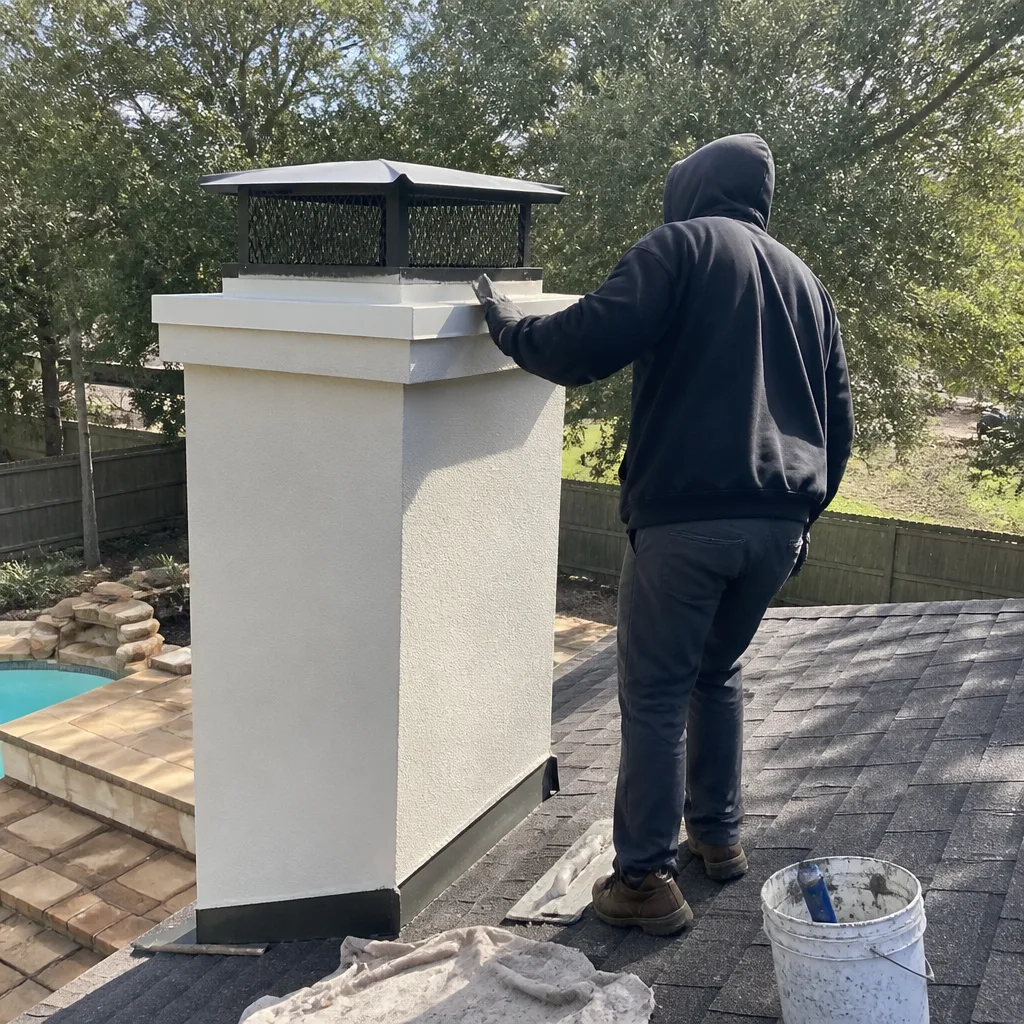 After
After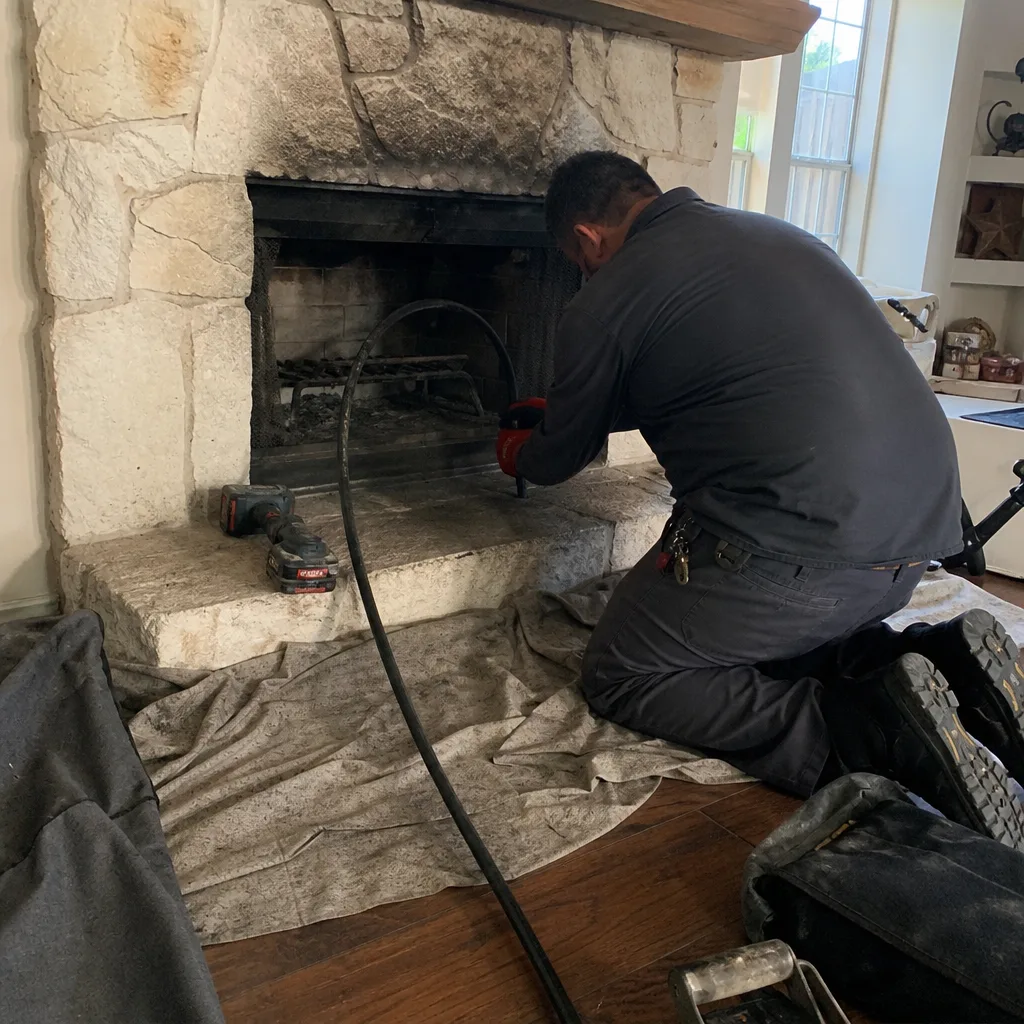 Before
 After
After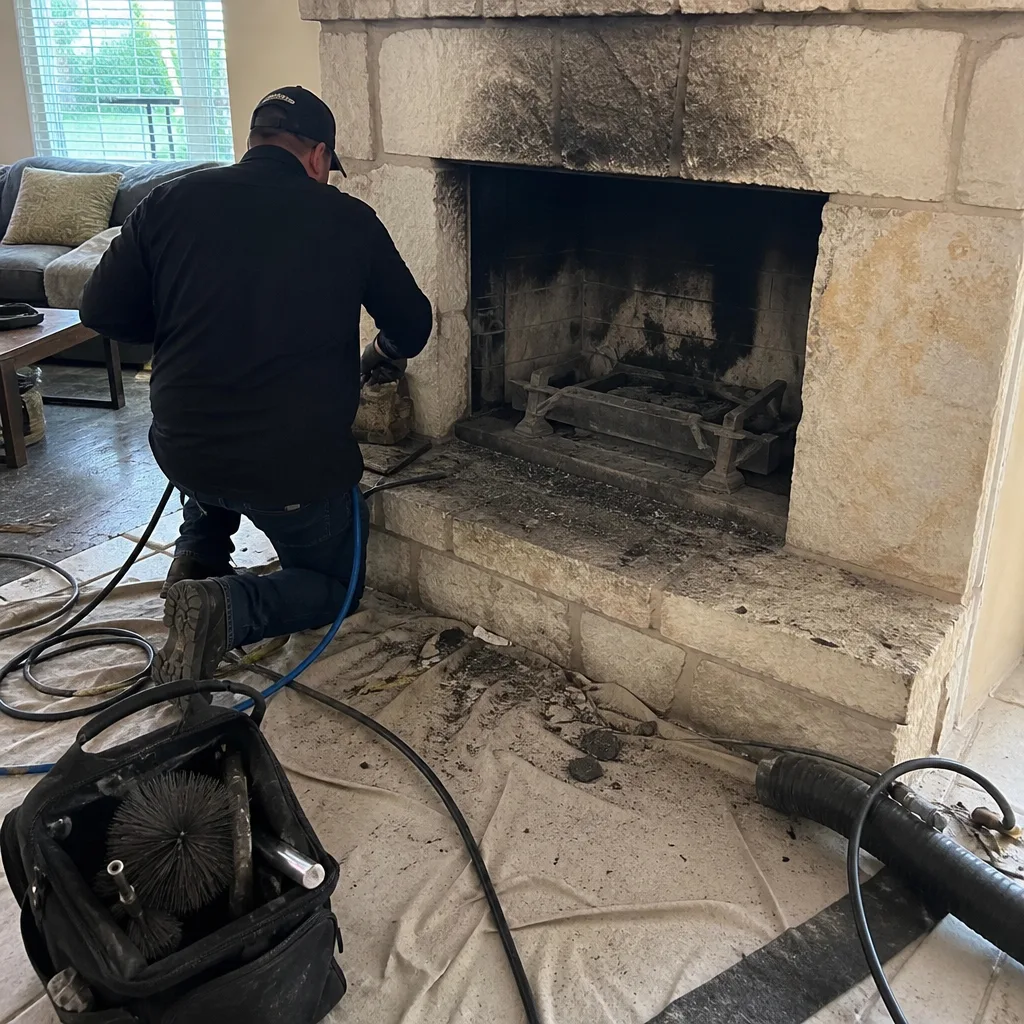 Before
 After
AfterWhen to Call a Professional
Some situations are outside the scope of any checklist, and recognizing them is part of responsible chimney ownership. Call a professional when you see water streaming into the firebox during rain, when you notice a strong smoky odor even when the fireplace is unused, when wasps or birds have clearly built inside the flue, when the damper grinds or won’t open, when firebrick has shifted or crumbled, when you see a crack wider than a credit card in the exterior brick, or when a camera inspection reveals cracks in the flue liner. Any of these conditions means the chimney is not safe to burn as-is, and none of them will resolve themselves. Kindling Chimney San Antonio offers free estimates throughout San Antonio. Call (361) 491-3153 and a live person will answer, day or night, to schedule a visit.
Frequently Asked Questions
Most standard chimney sweeps in San Antonio run between $149 and $249 for a single-flue brick chimney with typical creosote buildup. The price varies based on roof height, chimney accessibility, and whether the flue has been maintained regularly or allowed to accumulate several seasons of creosote. Camera inspection is often priced separately and runs an additional $50 to $150 depending on the company. You should receive a written price before any work begins, not after the technician has started. Call (361) 491-3153 for a free estimate that locks in the price before we start.
Every chimney that is used regularly should be swept once per year, and in San Antonio the right time for that annual sweep is October before the first fall fire. If you burn more than a cord of wood per season, or if you burn soft woods like pine that create heavy creosote, a mid-season check in January may also be warranted. The dormant season from April through October is when the chimney accumulates animal nests, water damage, and structural issues, so the pre-burn sweep isn’t just about creosote. It’s the annual health check for everything that happened while the fireplace was asleep.
Skipping one year of maintenance usually means you miss a problem that was small enough to fix cheaply and let it become a problem that requires real repair. A hairline crack in a mortar joint noticed in June can be repointed for a few hundred dollars. The same crack, left through a summer of storms and a winter of fires, can become a structural gap that needs thousands of dollars in masonry work. Creosote that sits for two seasons absorbs San Antonio’s summer humidity and becomes sticky and acidic, which accelerates liner deterioration. One skipped year won’t automatically cause a fire, but it’s the year that things begin to slip.
Camera inspection every year is recommended if you burn more than a cord of wood annually or if your chimney is more than 20 years old. For lighter use, every other year is sufficient. The camera looks at the flue liner, which is the one part of the chimney you cannot see from the firebox or the roof. Cracks in the liner can allow heat and gases to reach the framing of your home, and they develop slowly over years. A camera inspection is the only way to see them before they become a house fire. When a sweep shows you the video footage, you can see the exact condition for yourself rather than taking anyone’s word for it.
You can absolutely perform meaningful maintenance from the ground and from inside the firebox. Ground-level cap checks, exterior brick scans, wasp traffic observation, damper function testing, smoke tests, and firebox examinations are all safely in your lane. What you cannot do from the ground is see the top of the flue, the crown, the flashing, or the condition of the interior liner. Those require roof access or a camera. The line is simple: if you need a ladder to reach it, it belongs to a certified sweep. We’d rather you call us than risk a fall on a San Antonio tile roof.
A wasp smell from the fireplace in summer usually means there’s a nest inside the flue or smoke shelf, and the heat is causing it to decompose and release odor into the home. Don’t light a fire to smoke them out, and don’t spray anything into the flue. Both approaches make the problem worse. Call for a professional sweep, which removes the nest completely and cleans the flue so there’s no residue left to smell or ignite. This is a common San Antonio dormant-season issue, and it’s handled in under an hour by a certified technician. Call (361) 491-3153 and we’ll get it sorted before it becomes a fire hazard.
The Bottom Line
A San Antonio chimney lives through two very different halves of the year, and maintenance only works when you respect the difference. For more guides & resources on keeping your fireplace safe, explore our blog. The dormant season from April through October asks for monthly ground-level checks: cap, wasps, mortar, damper, and moisture. The burn season from November through March asks for a pre-burn sweep every October, a smoke test before the first fire, a functioning CO detector, and a quick creosote glance after heavy use. Document everything with photos and the annual sweep report. The line between what you can check and what requires a certified sweep is clear for a reason, and crossing it with a ladder or a can of wasp spray is how small problems become dangerous ones. If you’re not sure where your chimney stands, call (361) 491-3153. A live person answers, the estimate is free, and the written price arrives before any work begins.
Written by Danny Cortes, Owner at Kindling Chimney San Antonio, serving San Antonio since 2003.